Wednesday, December 8, 2010

German Apple Cake

This one turned out beautifully.  It's just a simple, single-layer, cinnamon-scented base with sliced apples on top.  When you aren't working with flashy ingredients or structure, a little attention to presentation goes a long way.  I have a lot more skill development to do when it comes to creative presentation, but sometimes the recipe suggests it for me.


German Apple Cake
adapted from honey&jam

1 cup all purpose flour
1 teaspoon baking powder
1/4 teaspoon fine sea salt
1/2 cup unsalted butter
1/2 cup sugar
zest of 1 lemon
2 eggs
1 teaspoon pure vanilla extract
2 apples, peeled, cored, and each cut into 6 pieces (I sliced them as thin as possible)
2 tablespoons of turbinado sugar
(I added spices to the batter, such as cinnamon, maybe a dash of nutmeg & ginger, whatever you feel like, but not too much if you want to keep the light flavor and feel)

1) Preheat the oven to 350 degrees and butter your pan (I used a 9" springform).
2) Stir flour, baking powder and salt in a small bowl.
3) Cream butter, sugar, zest on med-high speed for 3-5 minutes, until light and fluffy. Add the eggs one at a time, then stir in vanilla.
4) Add dry to wet and mix on low.  Spoon batter into the pan and arrange apple slices concentrically on top.  Sprinkle with demerara sugar (or regular sugar if you don't have the demerara).
5) Bake for 30-35 minutes, depending on the size of your pan.

Tuesday, December 7, 2010

Eggplant Parmigiana

I've never really liked eggplants, or l'aubergine, as our French friends would call them.  Purple has always been one of my favorite colors, but the vegetable?  Non.

I decided to give it a second try one night a few weeks ago, when a friend gave me a few small eggplants from her garden.  I couldn't let good garden food go to waste, could I?  And I did accept them, after all.  It's not like she forced them into my fisted palms.  Although my brain was saying, "Are you sure?"

I wanted to give them a fair trial, so I decided to let them shine in a classic eggplant-centric dish: Eggplant Parmigiana.  There are hundreds of recipes out there, but I only had a few key ingredients on hand, so I made up my own. 


I breaded and baked the eggplant slices while making a homemade meat sauce.  The meat sauce was delicious!  I'm easy to please when it comes to beef.


After the eggplant had baked a bit, I layered them lasagna-style with the meat sauce and freshly grated Parmigiano-Reggiano, and let it bake some more.  It looked great, but sadly the sauce wasn't enough to conceal the other flavors.

I still don't like eggplant.

Tuesday, November 9, 2010

What to do with a bushel of grapes.

Concord grapes ready for jelly! A fun fall activity thanks to the generosity of my friends the Weavers, yet again. Although this will be my first attempt, so we'll see how fun it really is. If you come to visit me and my kitchen has mysteriously turned purple, you'll know why. P.S. It's forecasted to SNOW tonight! Do you think that will help my jelly set? :-)

Tuesday, November 2, 2010

Greek Yogurt... attempt number one

This isn't very good for my track record.  The second cooking failure in 2 months!  And I post it on the internet anyway!  :-)

A few weeks ago, I tried making greek yogurt "from scratch".  I didn't think it would be very complicated because it only has two ingredients: whole milk and yogurt.  Look at that, it's not even "from scratch" because the recipe itself calls for yogurt, which, if you don't have a starter going, must be bought from... the store.  The recipe I had was pretty simple.  Steam the milk, pour into a bowl and cool down a bit, then add a few tablespoons of yogurt and let it do its thing.  Here's how it all went down(hill):


First, I prepped my equipment (bowl - check!, strainer - check! and cheesecloth - check!).  Next I brought the milk just to a steam, but not boiling.  I was feeling pretty comfortable with this step because I've made ice cream oodles of times, and this is an integral step to ice-cream-making.  Check.  I poured the hot milk into a bowl to wait for it to cool.  After a few hours (guesstimating...), I added the live yogurt and covered it with a damp tea towel.  The bowl sat out overnight to... cure?  To cultivate... cultures?  Not sure what that little process is called.  But you know... do its thing. 


The next morning, I poured the mixture into the strainer, although I was puzzled because it looked awfully thin and very non-yogurty.


Aaaannndd... I was right.  I got to this stage in about 2.6 seconds.  Not good.  I was left with a few dabs of yogurt in the cheesecloth and a whole bowlful of.... cultured milk!


This is my attempt at showing you how thin the milk was, by swirling the bowl with one hand and trying to operate my camera with the other.  Kinda psychedelic.  What do you do with yogurtish, tangy, creamy, perfectly good milk... hmm... what to do...  


Well what did you think I would do?  Make ice cream of course!


This concoction turned into some pretty tasty vanilla frozen yogurt with strawberry sauce swirl and walnuts on top.  All's well that ends well, right?

Eat well!
~Ri

Wednesday, October 20, 2010

Chocolate Gelato!

I'm feeling a little woozy after having an old filling replaced and a small cavity filled at the dentist's office.  They gave me two painkiller shots, and I still felt the drilling a little!  Not very fun.

So, because my cloudy brain can't write much right now, I'm going to concentrate on baking up something new for you tonight, and for now I'll provide you with this rich demo of chocolate gelato I first posted in November of 2007.  This is a blog named after that sweet treat, after all, so I ought to post something gelato-related before too much time passes. Who said you can't make ice cream in winter?

I felt like making ice cream and I had some cream in the fridge, so this is what happens when I get inspired and I happen to have the right ingredients. :-)

Cooking the custard:

Melting the chocolate:

Freezing:

Nice and glossy! And no, the spoon isn't that close to the camera, that's Grandma's larger-than-life humongous trusty wooden spoon.
Next ice cream variation on the list: creme brulee!

I just realized I never did make that creme brulee ice cream... maybe this November of this year would be a good time!

Thursday, October 14, 2010

Mini Doughnuts

Tuesday did not go as planned.

At work, we had a mini-crisis with transaction processing in the financial system, and somehow we in the Budget Office ended up being the ones to fix it.  Not I.T.  Not Accounting. Us.  Oh, I forgot to mention that it's our fiscal year-end, and the fix was urgent because it was holding up an entire check batch.  In Accounting.

Very, very stressful morning, noon, and afternoon.  I had dropped off my car that morning to get the front brakes worked on, and so I had to leave to pick it up in the middle of the day.  Then I had to jet out early so I could go to an eye appointment at 3:30, where I was overcharged for the second year in a row on a procedure I firmly believe is not necessary, considering my old eye doctor never did it the whole time I went to him. 

After work and the eye appointment, I met up with some friends to go mountain biking in the foothills.  I bought my mountain bike just this past spring and I've never had it tuned, so I wasn't surprised that the hills were giving me trouble.  My gears didn't seem to be switching very well, and the climbs were just... hard.  I fell a few times and waited for traffic to pass, thinking I know my legs are sore from CrossFit yesterday, but come on, don't be such a wimp!  You've been biking before, you should be able to do this. By the time I caught up with Catherine and Yvette at the top of the hill, it was time for a rest.  I looked down at my back tire and it was almost completely flat.  Well no wonder!  We got some air in it with Yvette's little hand pump, and it was enough to get me within walking distance of a parking lot.  Yvette rode down to the car and came back to pick up my bike and give me a ride back to my apartment.  Mountain biking fail.

What is this blog about?  Baking?  Oh yeah.

SO.  Came home and Catherine and I ended up hanging out for the rest of the evening.  Our friend Suzanne had lent me her mini doughnut pan (I had future experimentation in mind... namely this), which was sitting on my table.  We both looked at it and had a great idea.  Homemade hot chocolate and doughnuts.  Success.  I have no pictures of the hot chocolate.  It was beautiful, though.  The doughnut recipe provided with the pan needs some tweaking.  The texture was light and fluffy, more like muffins than my idea of doughnuts.  I'm thinking of trying a pound cake recipe next, to get that dense cake doughnut feel.

Mini doughnuts with maple and Nutella glazes


Doughnuts (or plain muffins)
2 c. flour
3/4 c. sugar
2 tsp. baking powder
1 tsp. salt
1 Tb. butter, melted, plus more for pan
2 eggs, beaten
3/4 c. milk
1 tsp. vanilla
1/4 tsp. nutmeg
1/4 tsp. cinnamon
Preheat oven to 325°. Brush doughnut pan with melted butter.  Stir together flour, sugar, baking powder, and salt in medium bowl.  Add butter, eggs, milk, vanilla, nutmeg, and cinnamon.  Stir just under blended. Fill each doughnut hole 1/2 to 2/3 full, no more. Bake 8 minutes and cool slightly before removing from pan.  Dip in glaze of choice (maple, Nutella, chocolate), or melted butter and cinnamon & sugar.
Makes 36 mini doughnuts.

Eat well!
~Ri

IKEA Bars

Once again, the bars were gone before I had a chance to take a good picture!  I guess that just means they were tasty. 
I call these IKEA bars because I made them using a jar of Swedish lingonberry jam instead of the raspberry jam called for in the original recipe.  I also omitted the walnuts, even though I think they would have been fantastic, because the initial audience included a person who is allergic to nuts.  Boo.  They ended up going to my co-workers, who enjoy nuts in baked goods as much as I do, but that was not the original plan.
The base is a simple graham cracker and butter crust, and there is a strong relationship to magic bars since these incorporate sweetened condensed milk.  Overall, this recipe is too sweet for my taste (oh the adult day has finally come when those words can leave my mouth!), but I really love the idea of using jam in baking. I am the proud owner of a fabulous jar of prized huckleberry jam that I bought in McCall this summer, and I've been using it to top Greek yogurt and walnuts (very very good).  I'm not sure there's enough left to make a panful of anything with it, but I might be able to stretch it just enough to become something interesting.  We'll see.  I will, of course, let you know -pronto- if anything huckleberry-related occurs in my kitchen.
Eat well!
~Ri

Monday, October 11, 2010

What to do with a plethora of plums

Why... make plum cake! 

Two years ago, I visited my friend MaryEllen.  It was early autumn, just around the time it is right now, and as we stepped outside to get some of that fresh fall air, she asked if I would like some plums.  "Sure," I said, not sure from where exactly she was going to pull these plums.  Turns out her grandpa's tree next door was completely overloaded with the little purple fruits.  Clearly, it needed assistance.  And so we got to helping.  We had such a great afternoon picking plums in the sunshine.  I went home with several bags, by that time unsure of myself, and what exactly I would do with all these plums.

Fast forward to October 2010.  I opened my little, very full, apartment-size freezer and decided that I had to do something about its sorry state of affairs.  Out come the packages of beef, out come the containers of soup stock, and from the very back... an old yogurt container with only black marker on the lid to give a clue to the contents.  "Unsweetened pureed plums".  Hmm... do 2-year-old containers of frozen plums even taste good any more?  I wanted to find out.

I let the container thaw in my fridge for a couple days (um... a few days - life is busy!) and finally peeked inside.  I saw perfectly thawed, juicy deep purple plum sauce.  A little spoonful was pleasantly received and I was off to Google to inquire about recipes.  After a little poking here and there, and discovering many recipes requiring sliced plums, whole plums, and halved plums, I finally came across one on an obscure science fiction blog (of all things!) calling for plum puree.  Looking Glass Plum Cake paired with homemade caramel fit the bill.

So sorry I don't have more pictures, but it was sliced up so quickly at work, this is all I got.  Take my word for it - it was delicious.  It even had that nice crisp crust that comes from buttering your pan with real butter.  If you somehow end up with as many plums as I did again this season, and you are at your wit's end and decide to stew and puree a boxful, this will be your go-to dessert.


Eat well!
~Ri

Sunday, October 10, 2010

Remnants of summer

A while ago I bought a box of saltine crackers; you know, one of those boxes with 4 plastic sleeves inside.  I only used 1 sleeve for the project at hand (meatballs), and I've been trying to keep my pantry clutter-free, so I had to think up another use for the rest of the crackers.  Enter Mom.  She always has good ideas for miscellaneous things.

She told me that my grandma used to make a treat called graham cracker cookies, or cracker candy, or cracker treats... something along those lines.  It seems like Grandma's generation cooked by instinct rather than a recipe, which explains why some homemade foods don't really have a name.  This is one of those foods.  So simple, it barely needs a recipe, and yet I never would have thought to throw this together.

What I didn't have in graham cracker ownership, I had in saltines.  Lots of saltines.  Which were about to get smothered by homemade caramel and chocolate. 

Saltine candy

Grandma's cracker candy
Graham crackers or saltines (about one sleeve)
1 cup butter
1 cup brown sugar
pinch salt
vanilla
2 Hershey bars or 1 cup chocolate chips
1 cup chopped nuts (optional)

Line a pan with parchment paper and crackers in a single layer.  Bring butter and sugar to boil for 2 minutes, add salt and vanilla (also can add nuts at this point, or save to sprinkle on top at the end) and pour over crackers. Bake at 350° for 7-10 minutes (or microwave on high for 2 minutes).  Sprinkle the chopped chocolate over top, wait a few minutes and smooth with an offset spatula.  Chill in fridge and break apart.  Can be frozen.


This is going to be a multi-use post, since I was cleaning out some photo folders, and I couldn't resist showing you the picture below.  My friend Stacy's family raises cherries in Oregon, and a few usually make their way to me (oh joy!).  I love, repeat love, fresh cherries.  Yeah, like make-yourself-sick-on-them every season type of love.  This is the first year I've tried freezing them (because I've never had leftovers before!).  I hand-pitted them with a paper clip (not recommended except for those too cheap to purchase an actual cherry pitter) and laid them out to freeze on a cookie sheet.  They are now safely tucked away for future use, probably in February when I need a reminder that summer really does exist. 

Look at these beauties!

Eat well!
~Ri

Friday, September 24, 2010

Fresh Orange Cheesecake, or, A Winning Combination

This week marked the annual employee picnic at my workplace.  Two years ago, someone decided a baking contest would be a good addition to the picnic.  I wish I knew who that person was so I could hug them.  Great idea. 

There are typically three top slots (1st, 2nd, and 3rd place) and the rest of the entrants are called, predictably, participants.  The first year of the bake sale, the rules weren't very clearly defined (Oh wait... bake sales are supposed to have rules?), so we ended up with a table of Tupperware containers and storebought items with "the homemade touch".   The second year, the rules were still somewhat ambiguous, but a lot better.  We were allowed multiple entries, but nobody made a call on what kind of baked goods to make, so there were still some posers in the bunch. 

For the third annual bake sale this year, I made the rules (hee!).  Because I'm possibly the only person at work who actually cares about these things, I was asked to determine the baking contest rules and prize levels a few months ago.

Rule 1: It must be homemade. From scratch. No boxes allowed.
Rule 2: Only one entry allowed per baker.
Rule 3: No frozen items, because we don't exactly have access to a marble slab for display purposes.

As the weeks passed, I considered my own options for an entry.  Brownies?  No, too plain.  Pie? No, I'm not good enough at crusts yet.  Cookies? Nah, too common. Pretty soon we were two days out from the contest and I still hadn't decided what to make!  It had to be tasty, it had to pass the picky-eater test, and it had to look good.  Suddently I remembered a blood-orange glazed cheesecake I made a few months ago, based on a combination of recipes from Dorie Greenspan and Martha Stewart.  Gold!  Er... Orange!

I ended up winning first place, and later I received my first commission from a coworker.  Hmm... could this be the beginning of the perfect side job?


Fresh Orange Cheesecake
Adapted from recipes by Dorie Greenspan and Martha Stewart
I didn't have access to blood oranges this time, so I simply used fresh.  You can use a variety of different fruits, but citrus works particularly well.

Making the crust.

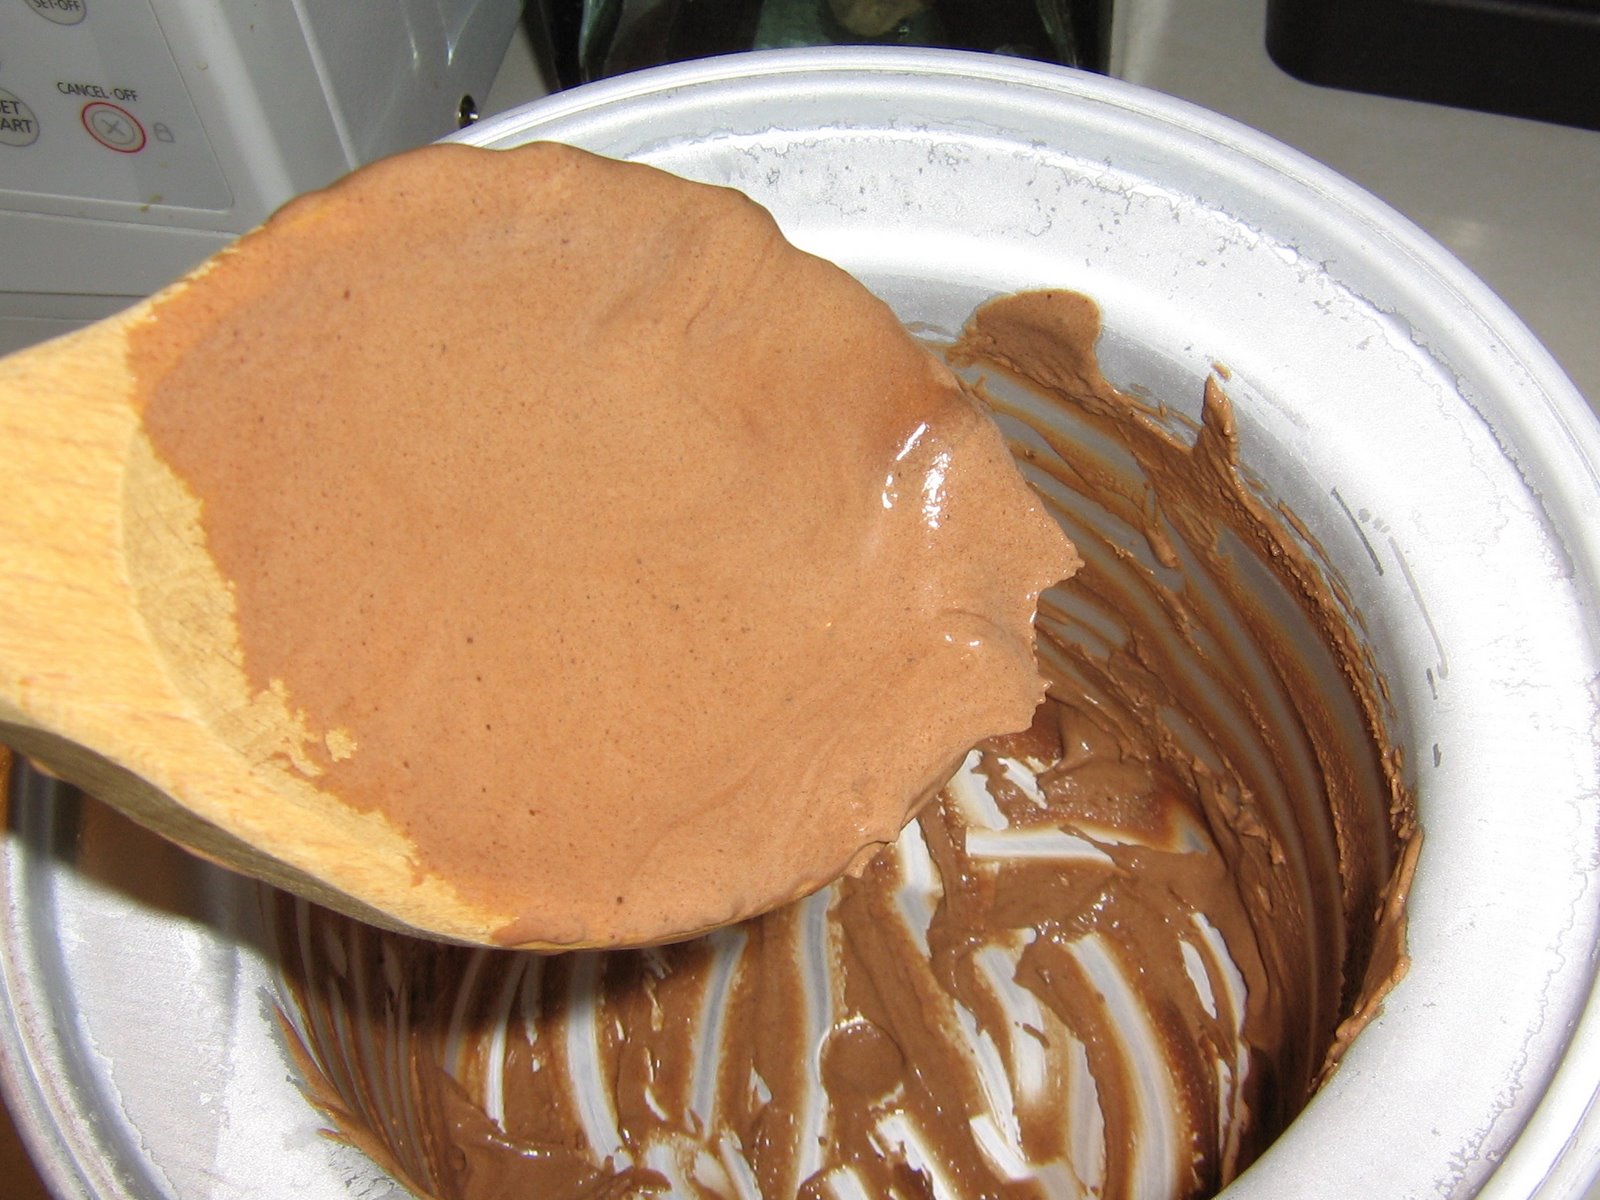
Adding sugar and salt to the cream cheese.

Watching the cake bake.

Cheesecake:
1. Prepare crust.  Mix 2 cups graham cracker crumbs with 4 Tb. butter and a little salt. Press into a buttered springform pan, wrap the bottom with foil, and freeze 10 minutes.  Bake 10 minutes at 350. Reduce heat to 325.
2. Beat 4 lbs cream cheese for 4 minutes.  Add 1 1/3 cup sugar and 1/2 tsp. salt and beat for 4 minutes again.  Add 2 tsp. vanilla.  Add 4 eggs one at a time, beating between each. Add the zest of two oranges. Add 1 1/3 cup sour cream or heavy cream and mix on low.
3. Set the pan on a rimmed baking sheet and pour the filling into the crust.  Pour hot water around the cheesecake pan and carefully place in the oven.  Bake at 325 degrees for 90 minutes.  Let cool thoroughly.

Juicing the oranges.

Making the orange glaze.
Glaze:
Prepare 7-8 Tb fresh orange juice.  Sprinkle one small packet of plain gelatin over 3 Tb juice in a small bowl.  Stir 1/4 tsp cornstarch with 1 Tb juice in another small bowl.  Boil remaining juice with 2 Tb sugar in a small saucepan. Add cornstarch and remove from heat. Add gelatin. Let cool slightly and pour over cooled cheesecake.  Chill for at least 4 hours.

Eat well!
~Ri

Thursday, September 16, 2010

Cookie Fail!

I'm known as an experienced baker among my friends, but what they don't see are the failures.  The flopped souffles, the cakes that stuck to their pans, and the toasted cookies.  Proof positive:

The dough started out well, but it was pretty hot in my apartment...

The disastrous batch.  Either my oven runs really hot or the cookie dough was too soft!  I would call these "caramelized".  They ended up in a ziploc bag, to be crushed and possibly used in vanilla ice cream later.  Not such a bad fate, I think.

After the nearly-burned batch, I watched the next set verrry closely... I love the fact that my oven has a window and exterior light switch!  Just like the one in my childhood home.  One of my favorite hobbies as a kid was watching things bake.

Finally a few that look ok... if not normal.  So flat!  Sigh.

Eat well!
~Ri

A Fresh Summer Dinner

Despite the fact that it's September, known the nation over for things such as "back to school time", and "fall shopping", I still cling to summer.  There's still a warm breeze outside my door and a sheen on my skin after a cruise on the bike.  In that spirit, I decided on a composed salad for tonight's dinner, accompanied by a cool glass of pinot grigio.  Perfect.

What could make this any better than it already is?

Perhaps a little tuna, avocado, and cold cucumber.

Summer Tomato Salad for One

1 very ripe heirloom tomato
2 oz Parmigiano-Reggiano
Salt, pepper, and an everyday spice blend (Trader Joe's used here)
2 fresh basil leaves
1 ripe avocado, room temperature
1 small can tuna, drained and flaked
1/2 fresh cucumber, chilled

Slice the tomato and arrange on a plate.  Slice thick shavings of Parmigiano-Reggiano over the tomato.  Sprinkle with seasonings as desired.  Tear a few basil leaves by hand and sprinkle over the tomato.
Slice an avocado in quarters, lengthwise.  Remove the pit and simply peel the skin off.  Arrange around the tomato.  Place the tuna on top of the tomato.  Slice the cucumber (peeling is only necessary if it is store-bought and has wax applied to the skin) and add to the plate.
Serve with a chilled white wine, such as pinot grigio.

Eat well!
~Ri

Tuesday, September 14, 2010

Welcome!

Hi there, and welcome to Molto Gelato.  My name is Ri and I'm a passionate baker, ice cream maker, cook, and all-around food enthusiast.  This is my kitchen journal of culinary experiments.

P.S. I may not be Italian, but shouldn't everyone share their zest for food, love, and life?